Ubuntu18.04 安装MySQL
Copyright Notice: This article is an original work licensed under the CC 4.0 BY-NC-ND license.
If you wish to repost this article, please include the original source link and this copyright notice.
Source link: https://v2know.com/article/470
安装MySQL
先查看有没有安装:
dpkg -l grep mysql

没有的话,安装MySQL:
apt install mysql-server
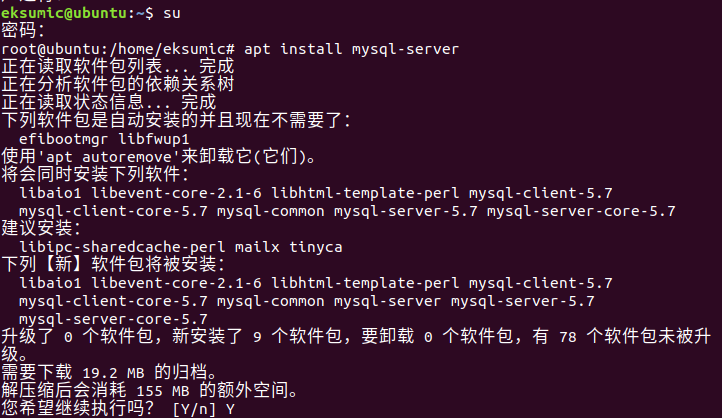
直接一路Y下去。(目前默认安装的mysql版本是5.7.31)
安装完成后,检查:
netstat -tap | grep mysql

如果看到mysql处于Listen状态,则说明安装成功。
检查版本:
mysql -v

可以看到目前的默认版本是5.7.31。
配置MySQL
第一次进入mysql数据库:
mysql -u root -p
本次进入不需要密码,因为是第一次。
进入后,输入
show database;
可以查看当前所有的数据库。
mysql>exit
退出状态,在正常终端模式下,输入:
mysql_secure_installation
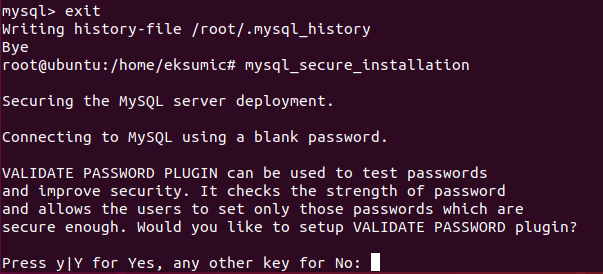
- 选择No,不安装VALIDATE PASSWORD plugin(主要还是因为麻烦)

- 设置root管理员的数据库密码

- 选择Yes,删除anonymous账户

- 选择No,不禁止root用户从远程登录
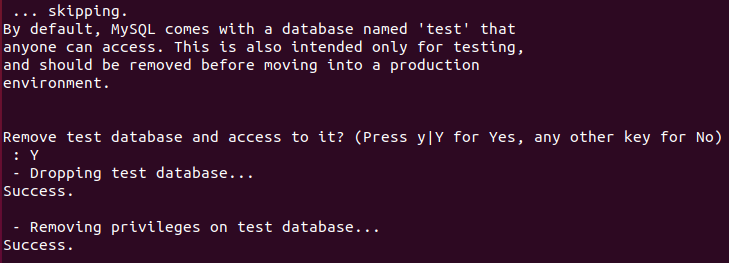
- 选择Yes,删除test数据库并取消对它的访问权限

- 选择Yes,刷新授权表,使得前面的设定立即生效
接着,我们在检查一下mysql的服务状态:
systemctl status mysql

显示这样的结果,表示启动并运行正常。
再次使用mysql -u root -p命令,Enter password处输入刚刚设置的密码,回车,就能进入mysql数据库。
- 使用use mysql; 命令打开mysql命名的数据库,
- 显示当前数据库的表:show tables;
- 查询user表里的数据:select * from user;(user表里是mysql数据库的所有账户信息)
这里就不演示了,不过要注意分号;
远程访问
输入命令:
vim /etc/mysql/mysql.conf.d/mysqld.cnf
注释掉
bind-address = 127.0.0.1
(在前面插入#号)

保存,退出。
然后重新进入mysql,执行授权命令:
mysql> grant all on *.* to root@'%' identified by '你的密码' with grant option;
注意这里的密码必然是设置和你刚才一样的密码。
mysql> flush privileges; # 刷新权限
mysql> exit
执行重启:
systemctl restart mysql
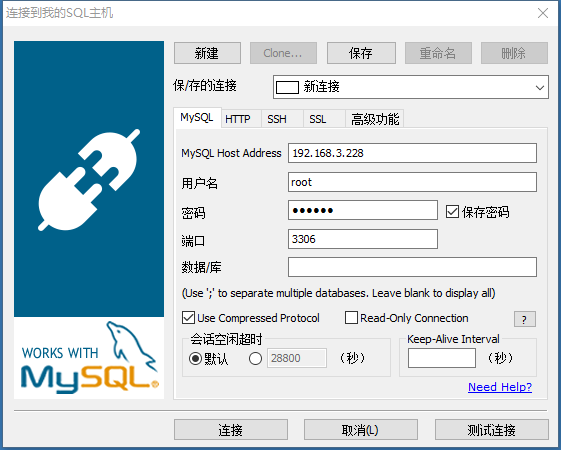
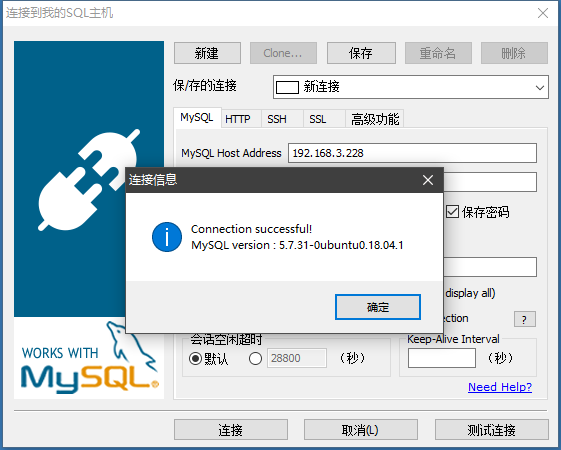
接下来,就一般性的,尝试在windows环境下,用navicat或者sqlyog之类图形软件打开你的远程数据库。
参考文档:
https://www.cnblogs.com/opsprobe/p/9126864.html
This article was last edited at